Building a Debian Linux Server
This article will guide you through the process of building a Debian Linux Server, that forms the base for many of the Linux articles on this used on this site. You will need to download and burn a copy of the Debian CD. You can get hold of a copy of Debian by visiting http://www.debian.org/ and…
This article will guide you through the process of building a Debian Linux Server, that forms the base for many of the Linux articles on this used on this site. You will need to download and burn a copy of the Debian CD.
You can get hold of a copy of Debian by visiting http://www.debian.org/ and follow the links to download the minimal network install version. This is available as an ISO CD image or a series of floppy disk images.
I am going to be using the minimal bootable CD, available at time of writing from http://www.debian.org/CD/netinst/. Look for the i386 link as this refers to the Intel/AMD computing platform that we are using.
Download and then burn this image onto a CD. We are then ready to begin.
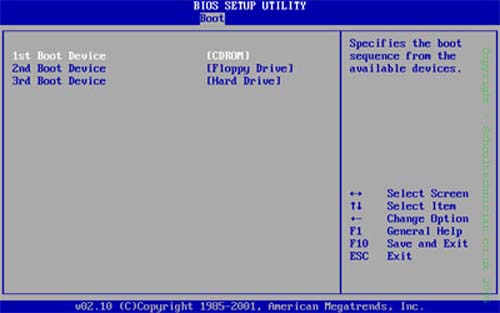
Switch on your PC and enter the computer BIOS, we need to set the BIOS to boot from the CD-ROM drive. Most computer manuals will tell you how to do this. Some of the more modern computers will allow you to press F8 to bring up a boot menu without having to reconfigure the machine.
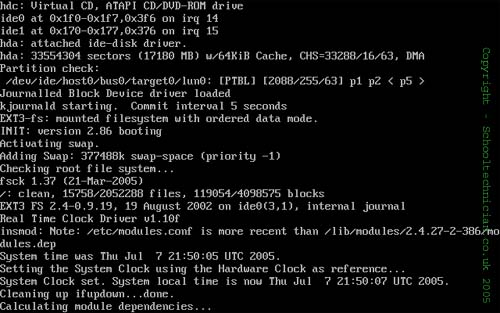
Insert the Debian CD into the drive and allow the computer to boot from the CD. You will know if the computer is booting into Linux, as the following screen will be displayed.
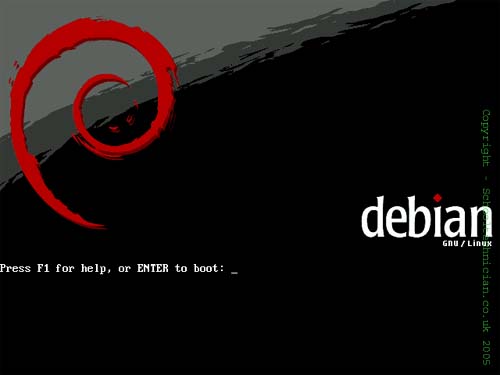
Press Enter to allow Debian to boot from the CD.
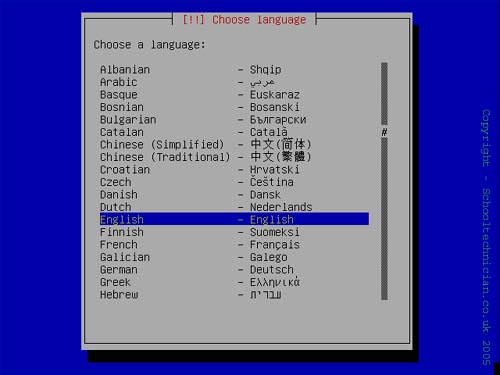
Choose the Language that you wish to use.
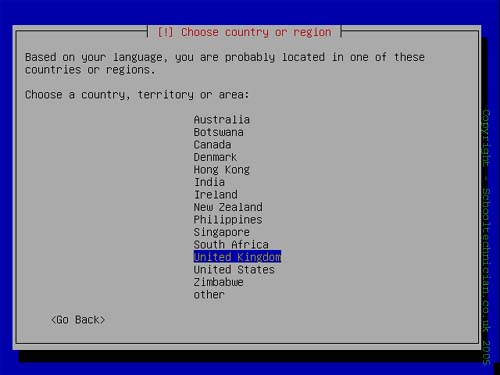
Choose the Country were you are installing Debian

Choose the keyboard layout that best suits your region
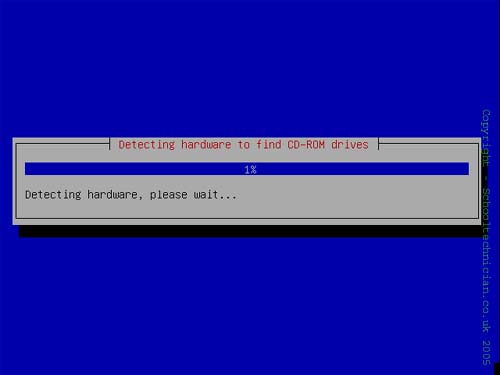
Debian will now detect hardware in the computer.
Configure the Network

Debian will now ask for a host name, choose a suitable name for your network. I used proxycache as this best described the use of this server, although this can match your own server naming conventions, for example SRV01 or SCHSERVER03, etc.
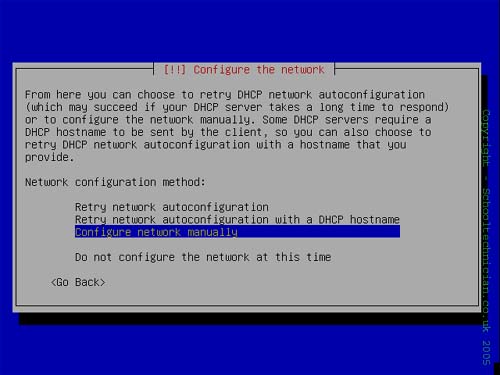
Choose to configure the network adaptor manually, although you could create a DHCP resevation if you want the network to control hostnames and IP addresses.
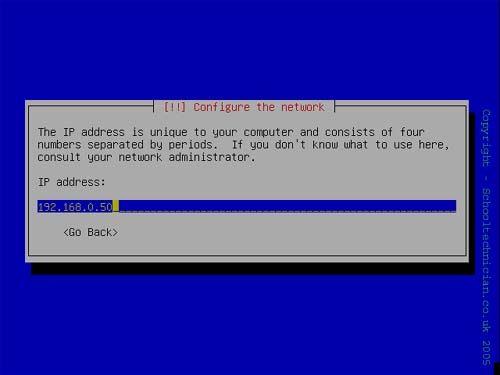
If configuring the network manually, you will need to configure the IP address to use.
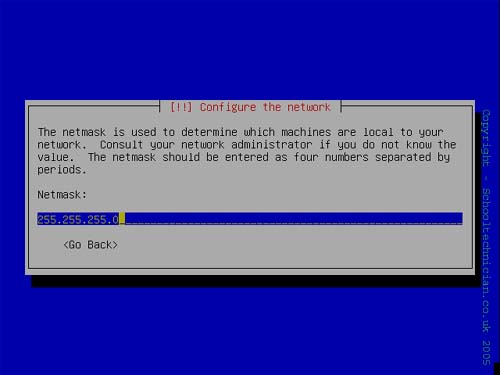
Configure the Subnet mask that matches other computers on your IP range.
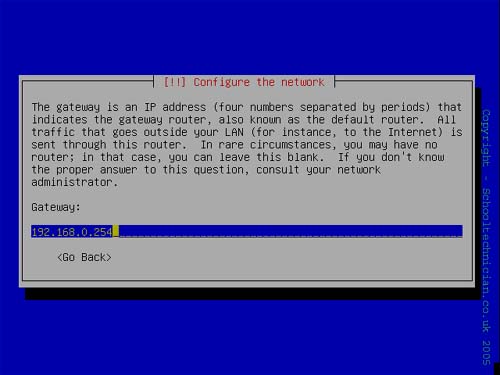
Enter the IP address that is the Gateway to the Internet. I most cases this will be the last IP address within your subnet.
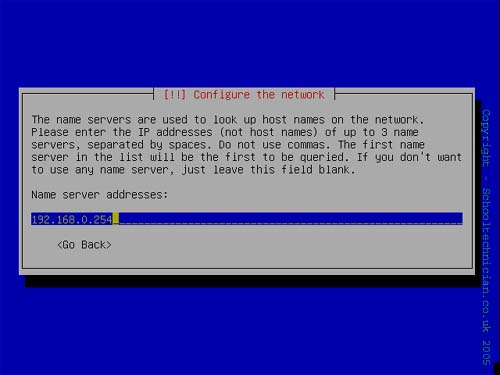
Enter the DNS servers that you want the new linux box to use. For example you could use your ISP or perhaps you have a Windows 2003 Active Directory with its own DNS that provides forwarding for the network.
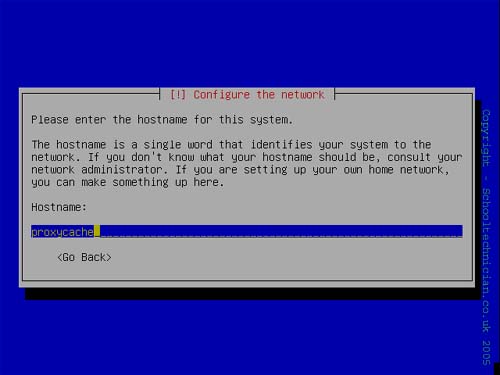
For some reason you need to re-enter the Hostname, use the same name as you used before.
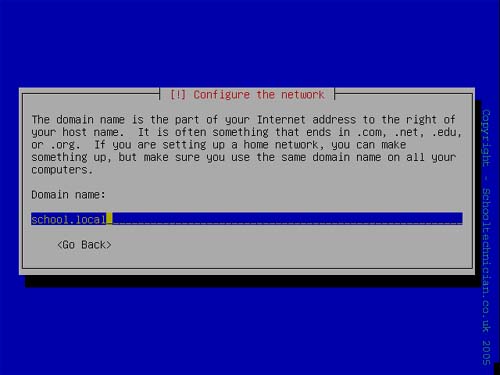
Enter the domain name that is in use within your network. I would advise against using your public *.sch.uk address as this could cause problems when resolving DNS entries.
Partition the Hard Drive
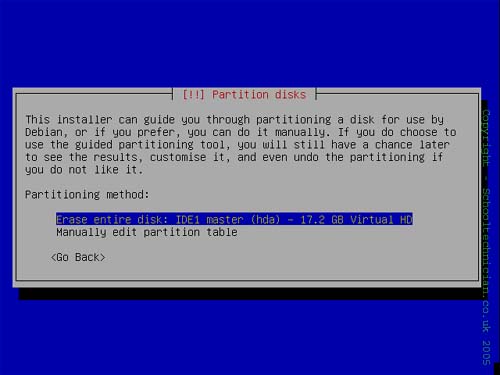
As the machine that you are using is likely to be an out of use machine, allow Debian to erase the whole hard drive.
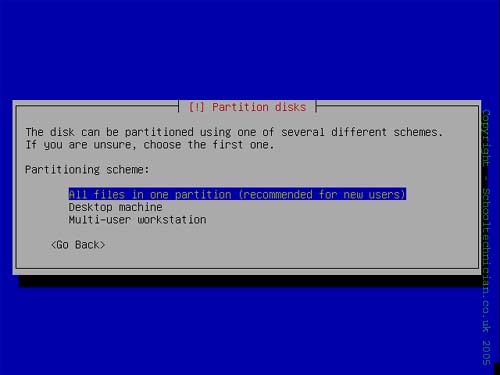
Choose the All files in one partition option as this will be the simplest to configure. Unless of course you want to configure separate partitions to enable quote management.
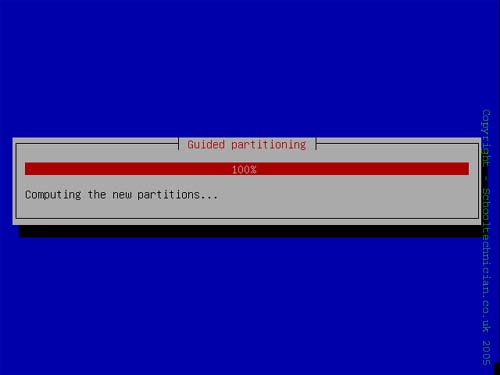
Debian will now calulate how the partitions will look and work. Debian will automatically create a swap partition that works like the Windows Swap file.
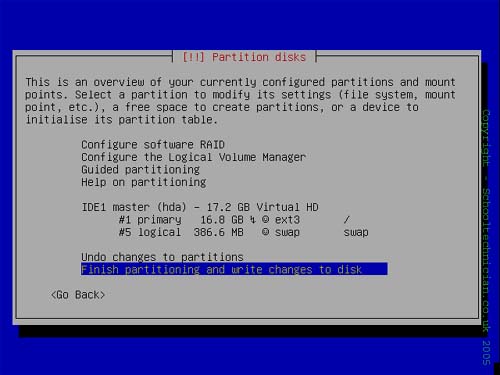
Select the option to finish partitioning the drive and save to disk.
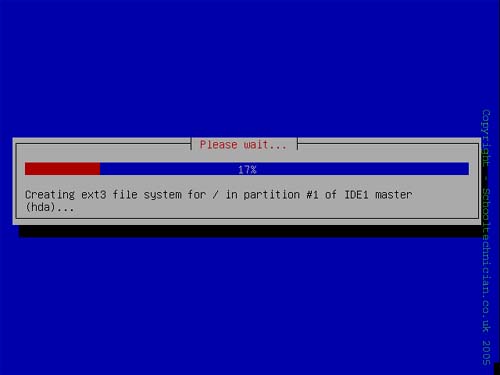
Debian will now create the partions and format them for use.
Installing the Base Configuration
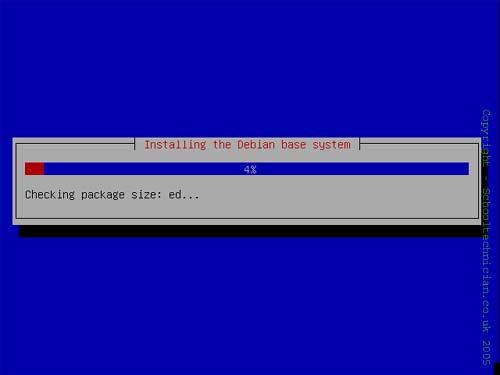
Debian will automatically install the base applications and system tools that are needed for Debian to function.
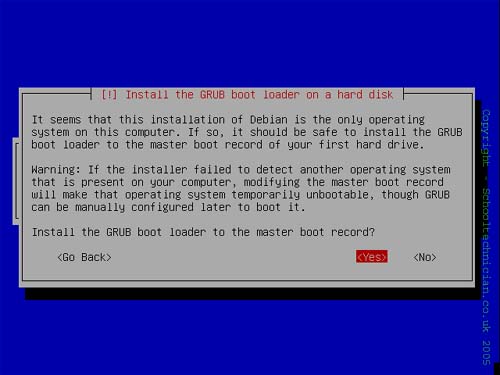
Debian will ask to install GRUB. Grub is a boot loader that enables Debian to boot. It would also allow you to boot in to different operating systems such as Windows XP. Choose to instal GRUB into the Master boot record.
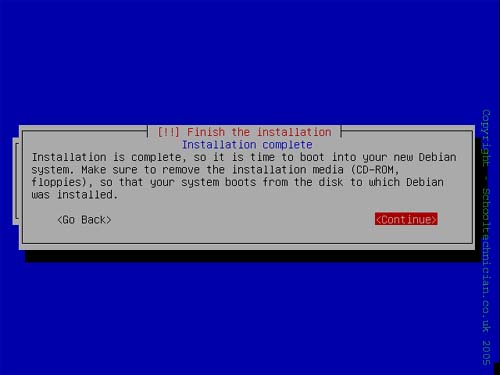
When Debian is done installing the basics, select the Continue option, eject the CD and allow debian to restart.
Booting Debian for the first time
When Debian boots for the first time, it will detect all of the hardware again so that it uses the correct driver files.
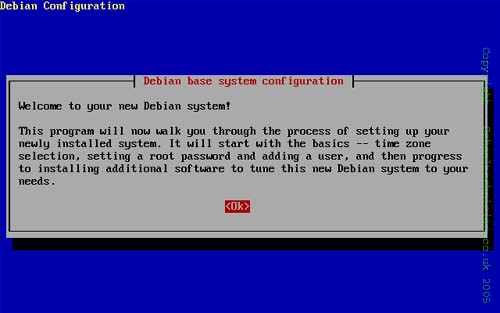
Debian is now ready for the post configuration that sets up users and configures the role of the server as well as the software package repositories.
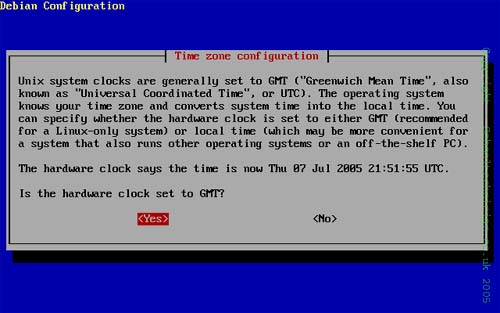
Set the Clock to GMT if needed.
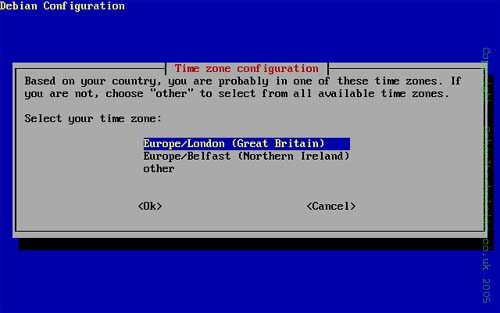
Select the time zone that best suites your location
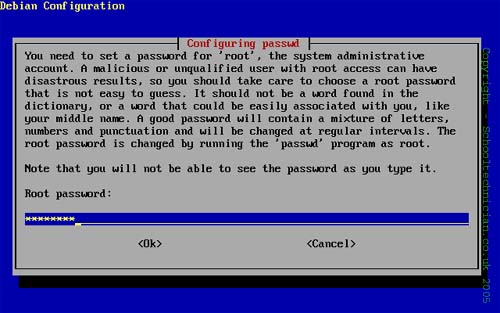
Enter the ROOT account password. You will be asked to confirm the password on the next screen.
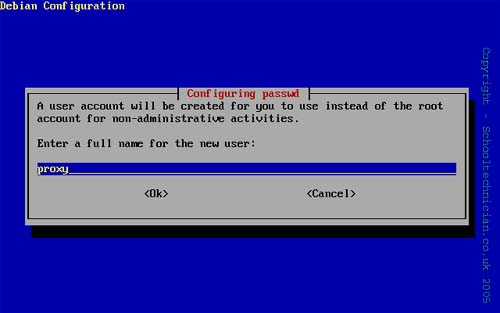
Create a new user account choose something like admin, there next screens allow you to specify a password and the user accounts full name.
Configure APT
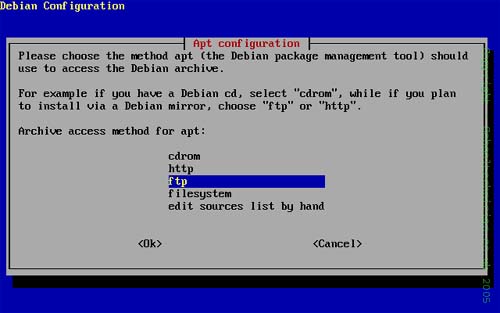
From experience the best method for APT to use is FTP, so select this option.
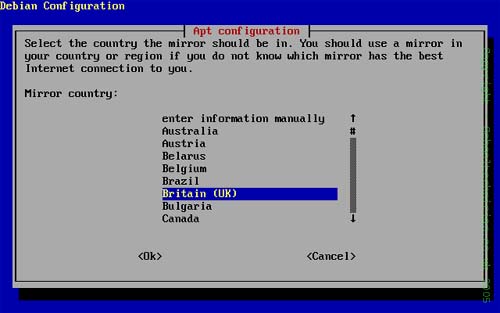
Select a country that best suits your location
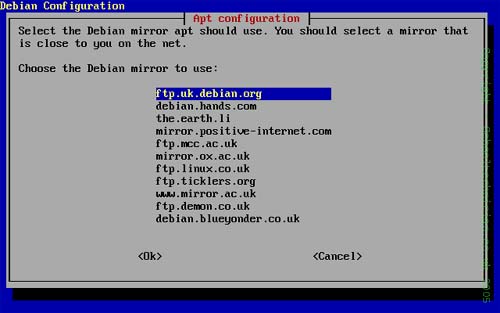
Select the Mirror provider.
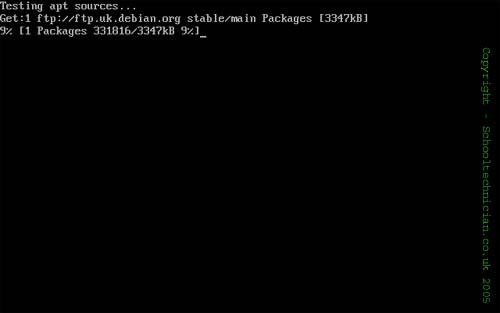
APT will now test the sources and get an updated list of the applications that are available.
Configure a Server Role
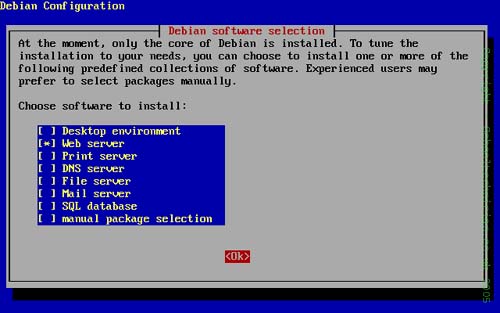
Choose a role that best suits the application that this server will be. It is not nessaary to select a role as any packages that you download using APT will also download any related services and files.
It is useful to select Web Server in most cases, as this gives the facilities to test access via an intranet site.
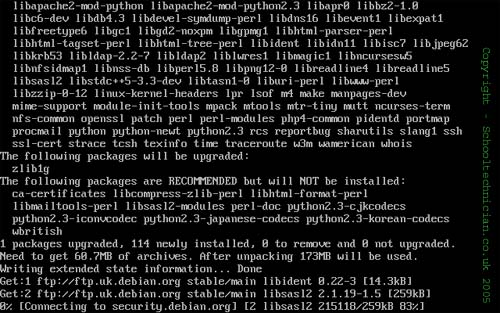
Once you have selected the relevant role, Debian will go off and download all of the applications that it needs to fulfill the roles that you have selected. This can take some time depending on the bandwidth and mirror site you selected.
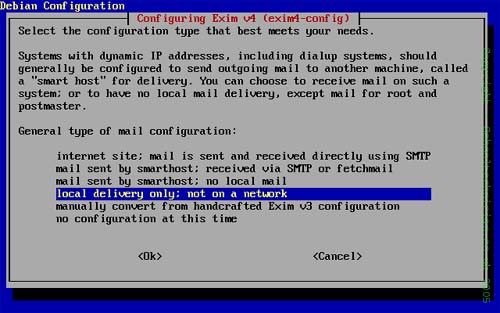
Debian functions well as a webserver and email system, as such on of the components that are automatically installed is an email service. Debian asks you to confiure it during the installation. You can select either local delivery or the no configuration option.
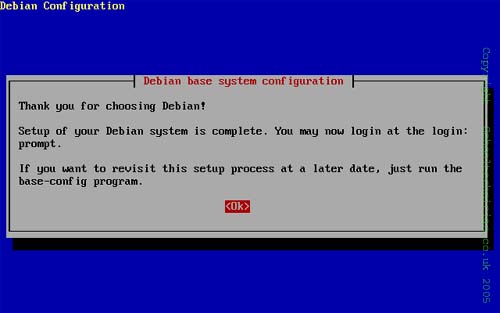
Finally Debian is now configured and is ready to use.
There is a large Debian community and lots of howto’s on the internet, so if you have had a problem and need some extra help, make use of the community.
A good place to start is the www.debian.org website, or by searching Google.
One of the most useful applications that you can get is called Webmin, this is available as an APT package and can be installed using;
APT-GET install webmin webmin-core
All relevant packages will be downloaded and installed. The package version of Webmin is actually quite old and does not contant all of the control panel modules. I would recommend updating Webmin using the online update tool.