Creating your own caching proxy server
Building a caching/filtering proxy server of your own isn’t really a complicated task, all you need is computer that has at least 1 core or better and has 1Gb or RAM and at least a 100GB hard drive. The next thing that you will need is an operating system and a bit of software to do the…
Building a caching/filtering proxy server of your own isn’t really a complicated task, all you need is computer that has at least 1 core or better and has 1Gb or RAM and at least a 100GB hard drive. The next thing that you will need is an operating system and a bit of software to do the caching. With Superfast broadband speeds, caching isn’t quite so useful these days, however having the ability to control your network traffic and filter out sites locally is always useful.
For this article we are going to be using a version of Linux called Debian and the caching proxy software called Squid. These are both free and released under the GNU licensing terms. In other words you don?t have to pay a penny for them.
One of the disadvantages of using Linux is that the novice will find it difficult to diagnose problems and may get stuck. However I will try to make it easy to install and configure. So if it does go wrong, you can simply start again, or throw the computer out like you were going to do.
As we are going to be using Linux, you will need to go and get a copy. Visit http://www.debian.org/ and follow the links to download the minimal network install version. This is available as an ISO CD image or a series of floppy disk images.
I am going to be using the minimal bootable CD, available at time of writing from http://www.debian.org/CD/netinst/. Look for the i386 link as this refers to the Intel/AMD computing platform that we are using.
Download and then burn this image onto a CD. We are then ready to begin.
Switch on your PC and enter the computer BIOS, we need to set the BIOS to boot from the CD-ROM drive. Most computer manuals will tell you how to do this. Some of the more modern computers will allow you to press F8 to bring up a boot menu without having to reconfigure the machine.
See Article – Building a Debian Linux Server
Once you have installed the Base Debian system it is now ready to be setup as a caching proxy server.
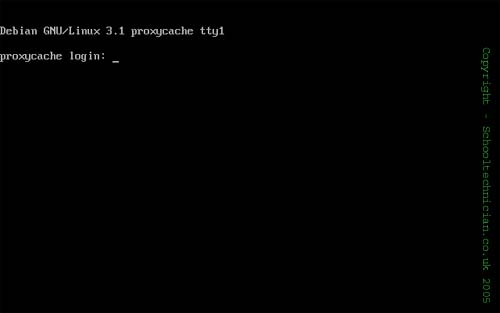
Make sure that your new Linux box is connected to the network and then logon to Debian as ROOT using the password that you entered during the installation.
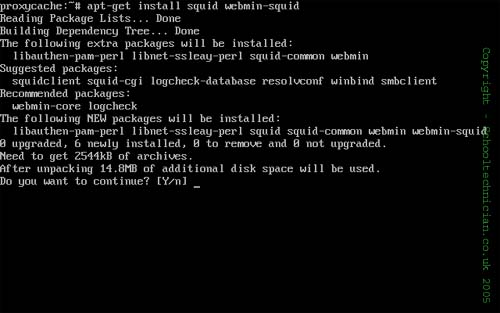
Next use the APT-GET command to install the following packages. Squid, WebMin-squid. This will download all of the required packages and install a basic working version of squid. Answer Yes to install the applications that are required.
APT-GET INSTALL squid webmin-squid
Once the new applications have been installed, you now need to configure Webmin to allow access from computers in your network. We are going to do this by editing the Webmin configuration file using a simple text editor and then restarting the Webmin service.
Type at the command prompt
nano /etc/webmin/miniserv.conf
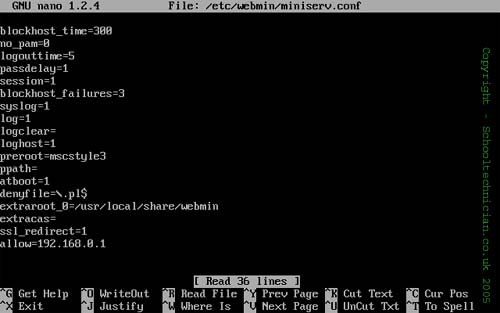
Locate the line ?allow=127.0.0.1? and delete the entire line or just change the IP address to match a computer that is on your network, ie your main server or your main admin workstation.
Save the configuration file by using the CTRL+O keyboard combination and finally use CTRL+X to quit the editor.
Now restart the Webmin service by typing the following command at the prompt.
/etc/webmin/restart
Webmin is now configured and will be accessible from any computer or the computer that you specified.
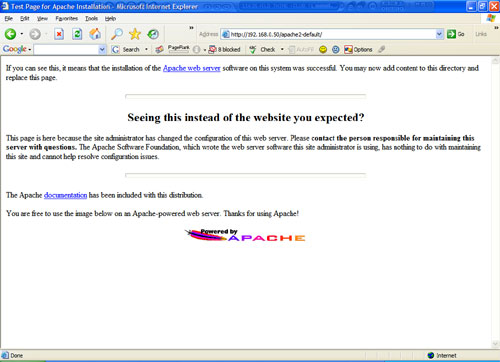
Open Internet Explorer or your preferred web browser, make sure that there is no proxy server configured as this may cause problems, alternatively add the new proxycache box’s IP address as an exception. Now type in the address of your new proxy cache server and press the Go button. The Apache welcome page should be displayed. This confirms that the proxycache is available.
Now type in the address bar of your web browser the address similar to this example. https://192.168.0.50:10000/ Replace the IP address of the of this example with the one that you have chosen for your network. It is important to note that you must use the https:// and you must also use the :10000/ part of the address, otherwise you won?t see a thing and get an error.
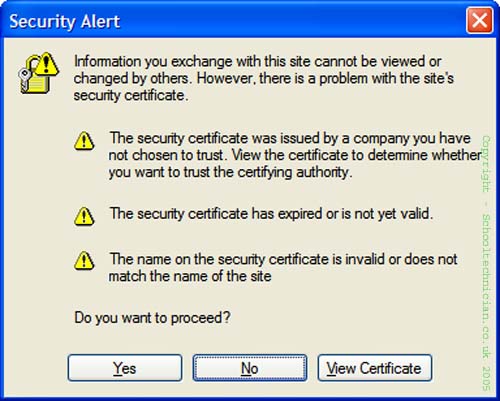
All being well you will see a security certificate warning. Accept the certificate and then enter your ROOT username and password into the logon screen, then click the login button.

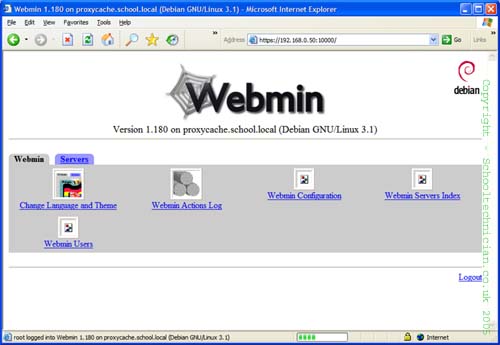
Now that you are logged into Webmin you should see a screen similar to the one below. Click on the Servers tab, then click on the Squid Proxy Server icon.
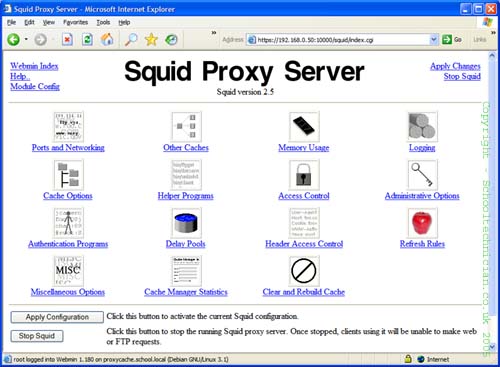
This is the squid control panel.
Configure the Ports and Networking
Click on the Ports and Networking icon from the Squid Proxy Server control panel.
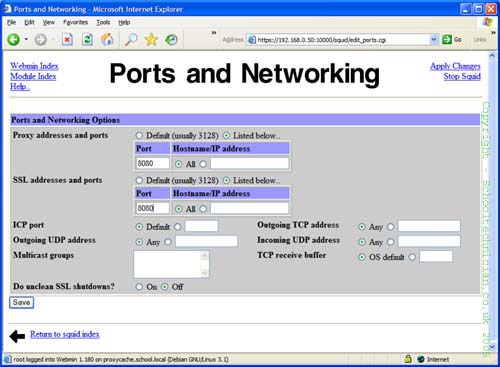
- Change the address from Default to “Listed Below”
- In the port Entry box, enter 8080
- In the SSL address and port section, change from Default to “Listed below”
- Enter the same port number.
- Leave all other options on the page set as the default.
- Click on the Save button at the bottom of the page.
Configure the Upstream Proxy
If you have to use your internet service providers filtering proxy server to access the internet, you must enter details into Squid so that it is able to access the internet. From the Squid Proxy Server control panel, click on the “Other Caches” icon. In the Other proxy cache servers, click on the link “Add another cache”
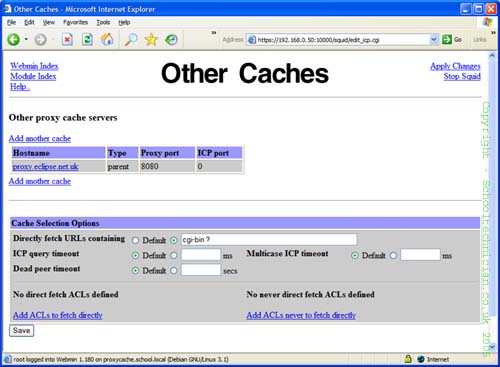
- Enter the host name or IP address of the ISP proxy server you need to use, e.g. proxy.swgfl.org.uk
- Enter the proxy port that you need to use, e.g. 8080
- Enter 0 in the ICP port.
- Leave all of the other options as the default settings
- Click the save button at the bottom of the screen.
Configure Squid Access Control
Squid is configured by default not to allow computers to access its services. This Access Control is very powerful and can be used to block downloads, websites and to control general access to the internet. We are going to enable a range of IP address of our internal network so that only the school computers can access and use the proxy.
From the Squid Proxy Server control panel, click on the “Access Control” icon. Webmin will display the access control list and proxy restrictions.

At the bottom of the Access Control List, there is a drop down list, select ?Client Address? and then click on the ?Create New ACL? button.
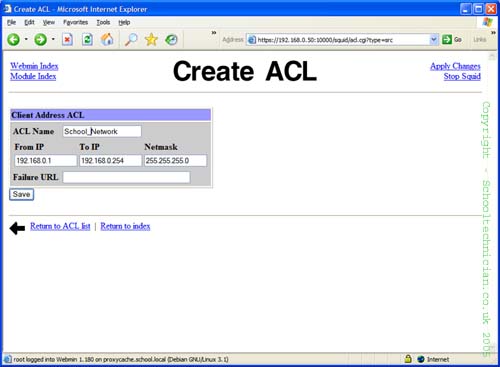
- Type in a name for this new ACL for example “School_Network” – note that this name must not contain spaces.
- Enter the beginning IP address
- Enter the end IP address of your network allocation. There is no need to enter the subnet mask, as it may cause an error in squid and stop squid from working.
- Don?t enter anything for the Failure URL
- Click on the Save button.
At the bottom of the Proxy Restrictions list, click “Add Proxy Restriction”.
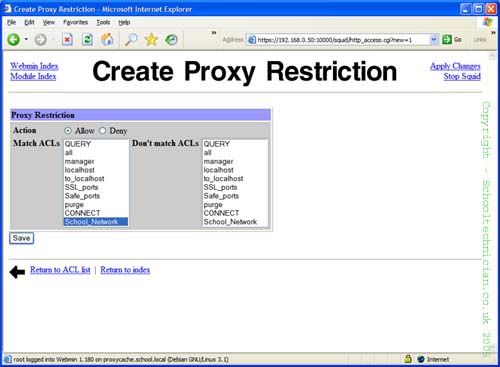
- Set the action radio button to “Allow”
- Select your newly created ACL from the “Match ACL” list.
- Click on the Save button.
You must now move your Proxy restriction from the bottom of the list, up one so that it is above the Deny All entry. Use the up arrow on your newly created Proxy restriction.
Apply Changes
It is now time to apply the changes that you have made to squid. Do this by clicking on the “Apply Changes” link at the top of the Squid Proxy Server control panel. After a moment the changes will have applied. You are now ready to test you new Proxy.
Testing the Proxy
Set your Internet Explorer or preferred web browser to use your new proxy server. Apply the setting and then try to surfing the internet.
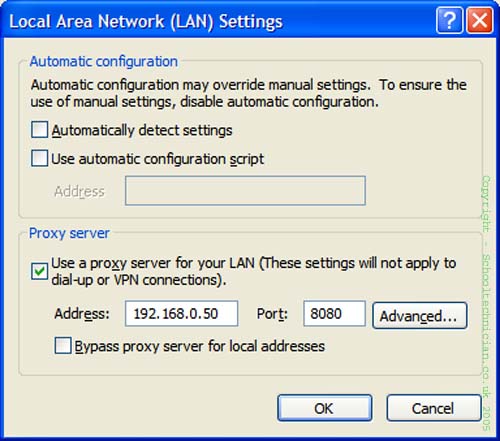
Your new proxy server should now be acting as a caching proxy server. If this works without any problems and you can access external web pages and perform a search using your favourite search engine such as Google, then you are done.
Configure your Network
Rather than configuring your whole network to use the your new proxy server, I would recommend configuring a few workstations at a time so that you can ensure that the machine is going to be up to job and be reliable for the classroom situation.
If you are using an active directory network, it would be very easy to create a policy that you can apply internet proxy settings and quickly revert if your squid caching proxy doesn’t work for you.
Where to get more
If you would like to know more about Squid and how you can extend the functionality with log analysis and pre-fetching visit http://www.squid-cache.org/ the home of squid.
Debian Linux will have packages for most add-on applications that you may wish to use with Squid. Simply find the package and do an internet search for “Debian <package name>” You can then use APT-GET to install the package.
Links
Debian Linux – http://www.debian.org/
Squid Cache – http://www.squid-cache.org/
Squid Guard – http://www.squidguard.org/