
Building Windows Server 2012
Basic installation of Windows Server 2012 R2 Update 1 in screen shots.
Building Windows Server 2012 R2 has become the defacto Operating System for School networks. It comes in many flavours and supports ever increasing amounts of processor cores and memory. If you are going to be using a virtual environment for all of your server needs, then you are going to want to select the Data Centre version (per host) as this will support unlimited numbers of Guests within the hypervisor. If you are going to be using a traditional task based physical machine then Standard is going to workout a little bit cheaper because of the licensing – and allows up to 4 Guest Windows if you are going to use Hyper-V.
For the purposes of this tutorial we shall be using Data Centre edition, although the installation and setup are identical in all of the versions.
- Boot from your installation media, this can be either USB Key, ISO Image or DVD
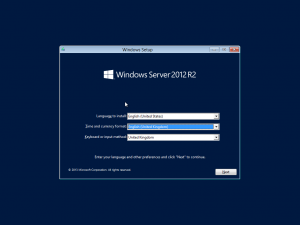
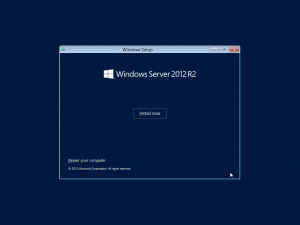
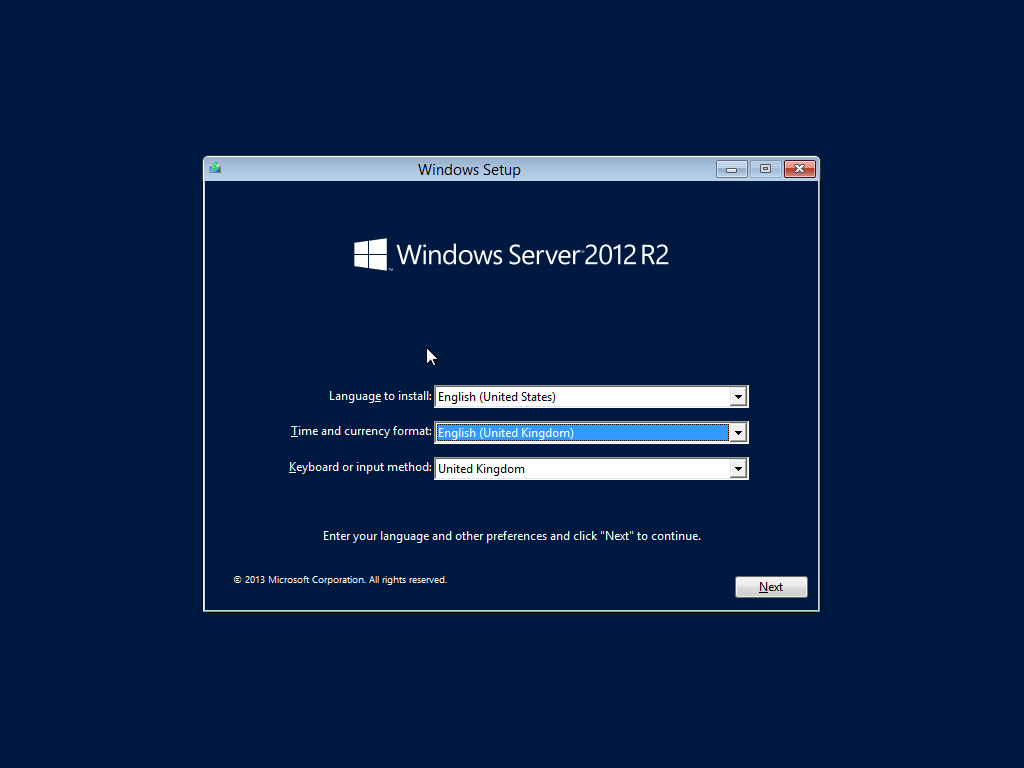
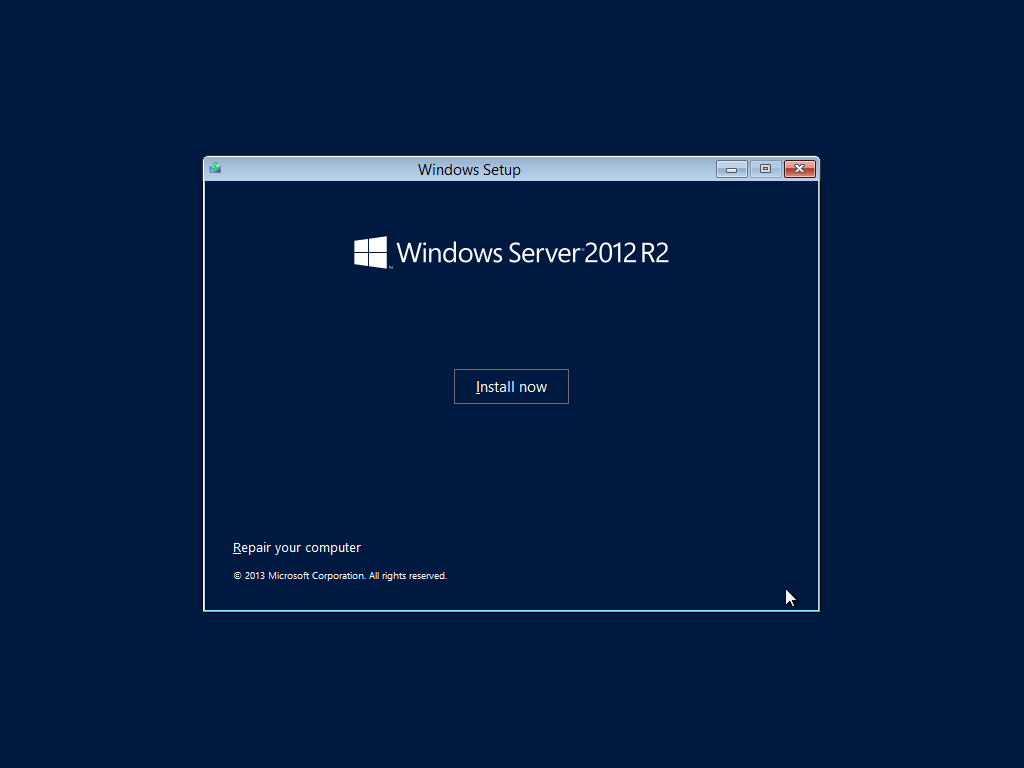
Select the language and location, the keyboard should automatically default to your location. Note unlike previous versions, there is no UK English option, although you can select a location (Microsoft – if you are looking can we just have an English language option and then let the location identify if we are going to be using ‘z’ instead of ‘s’ in our words). - Next you can click the Install button. At this screen you can hold a number of key combinations to launch a command window or repair a broken Window.
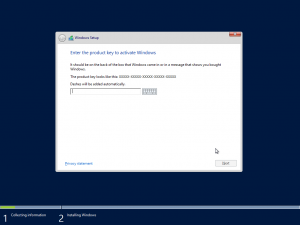
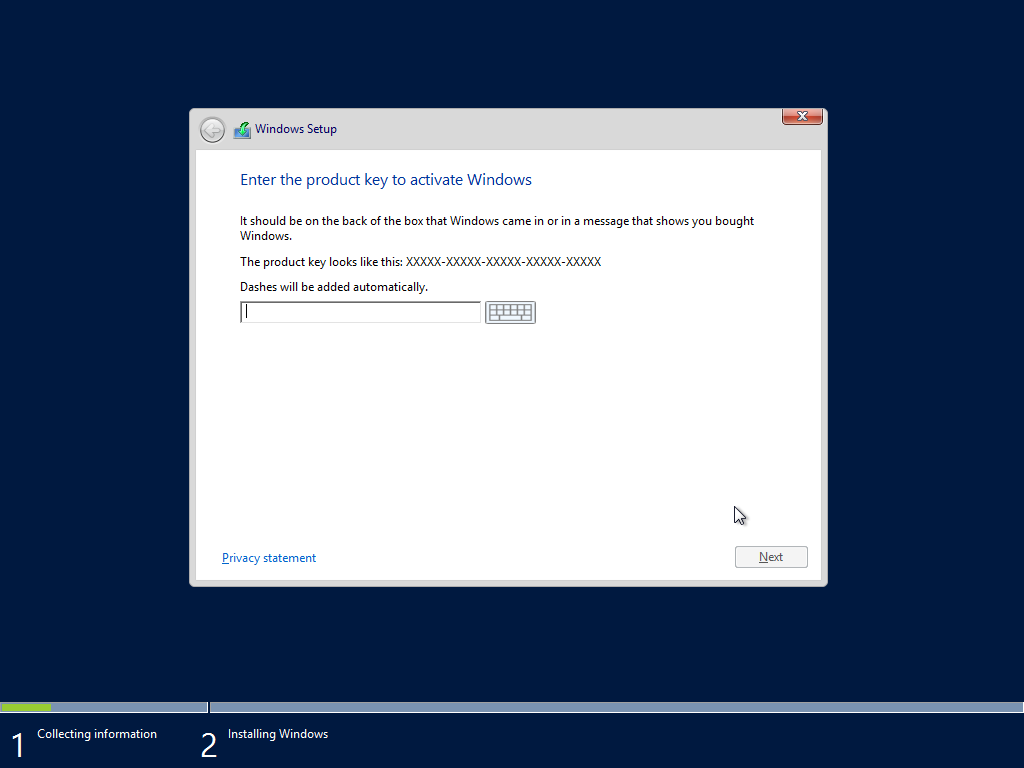
- Enter your Product Key
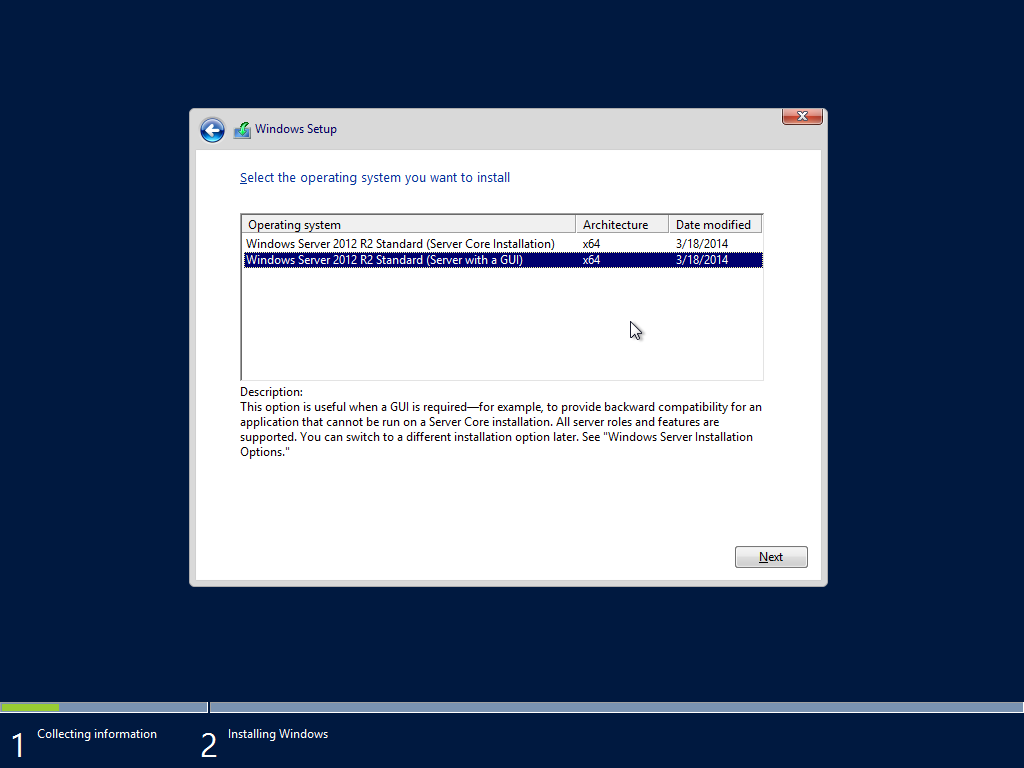
- Then select which type of interface that you are going to use.
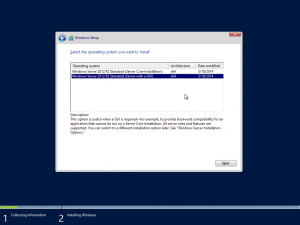
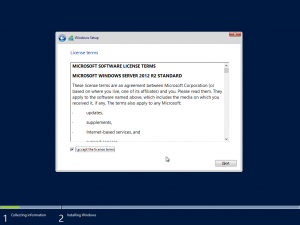
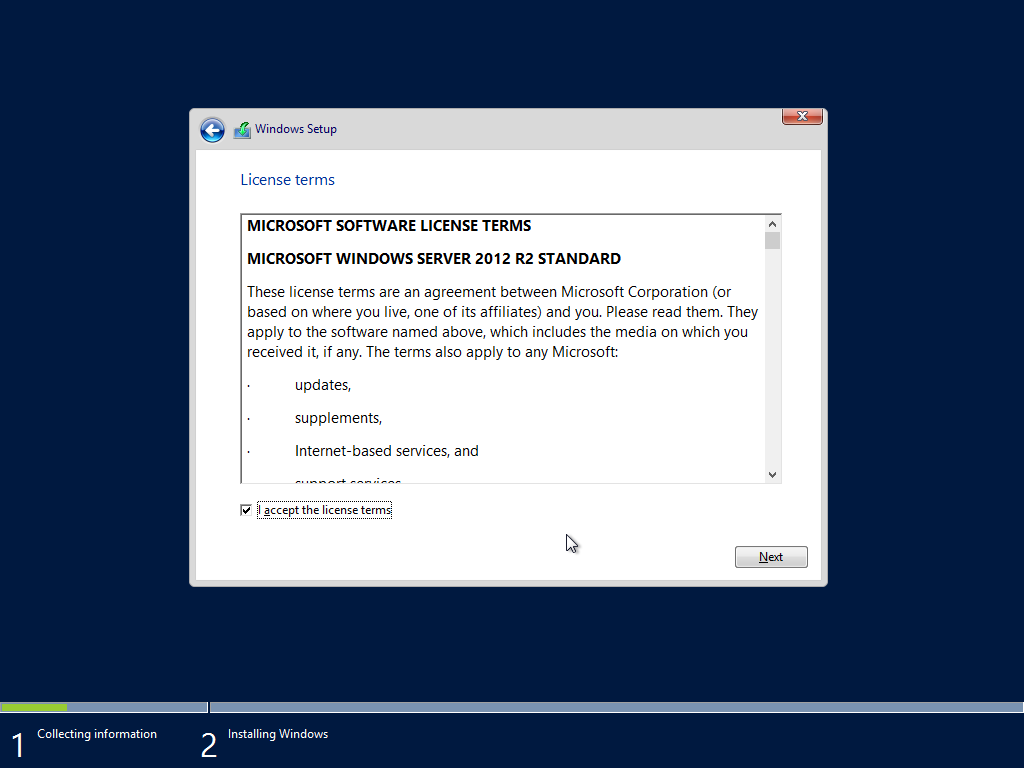
I would suggest using GUI until you know why you need to use Core, otherwise you aren’t going to get the most of out the new features, unless you want to do everything with PowerShell - Next Read and Except the EULA
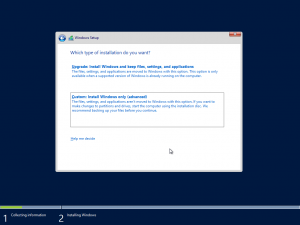
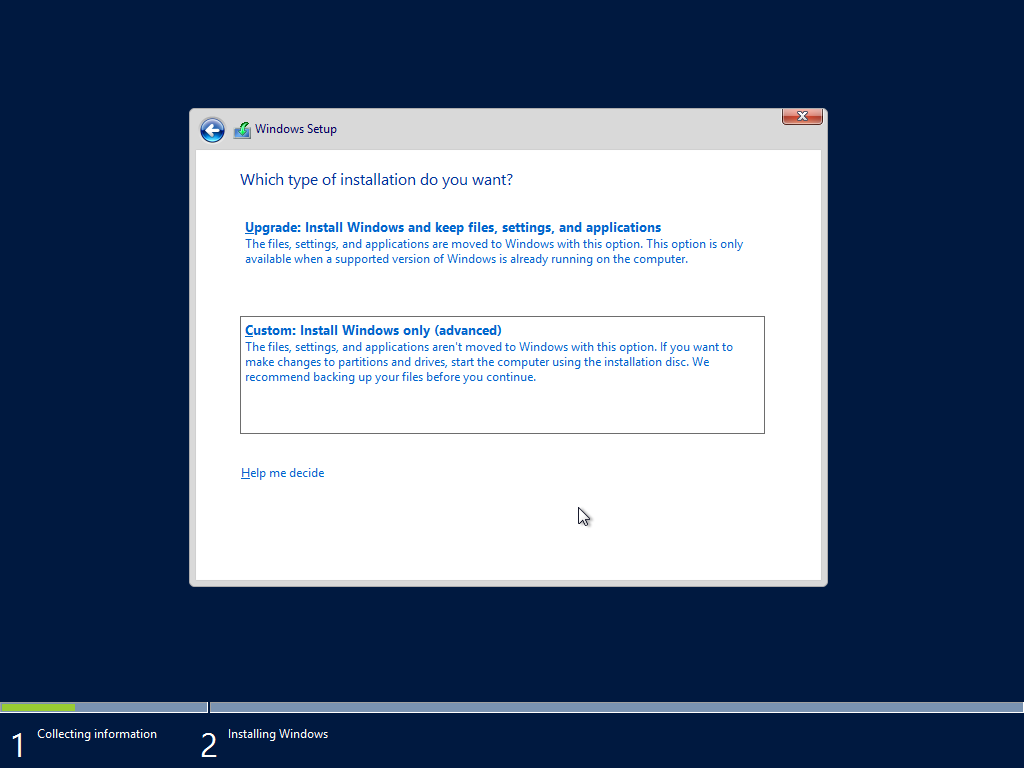
- At this point you may now choose to Upgrade a previous version of Windows. Note that you can only upgrade Server 2008 R2 and Server 2012 R1 – in other words only previous 64bit versions are upgradable.
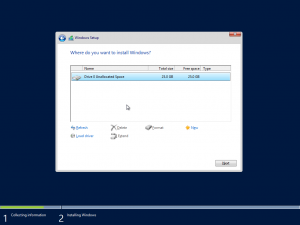
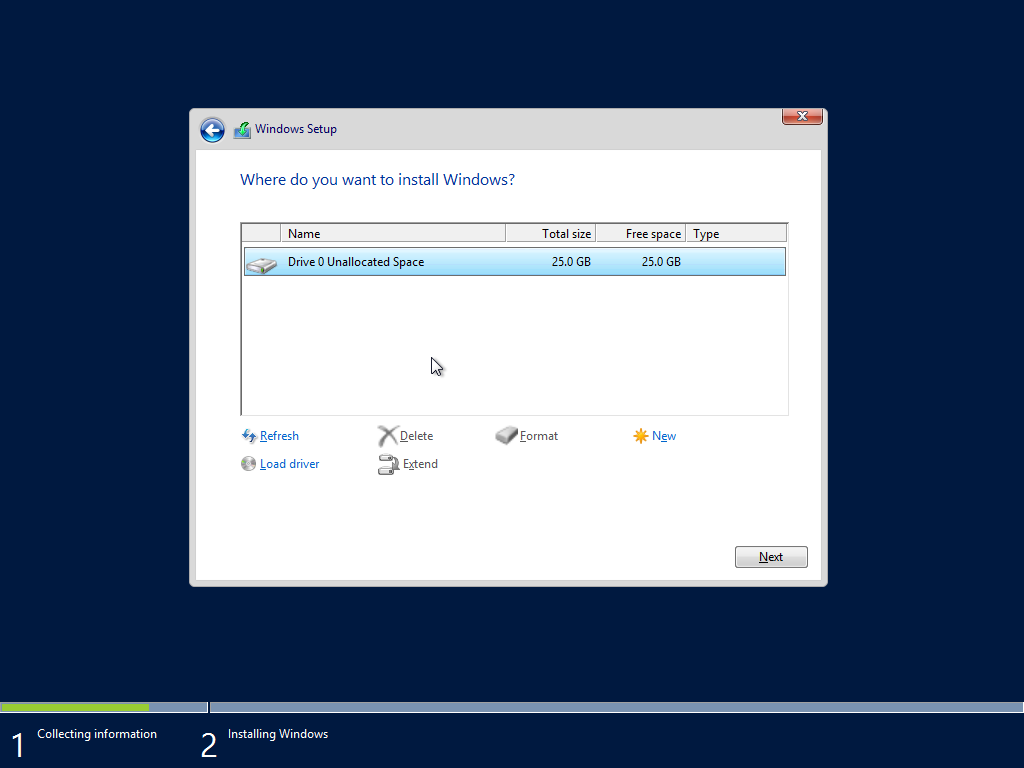
- At this stage you will now need to choose the layout of the disk. Since I am building on a virtual machine with a single hard disk there is only one drive presented. Windows 2012 is able to identify most Virtualised and Physical storage controllers. You can specify your own partitions or allow Windows to consume the entire disk. Note that Windows will create a small 400Mb partition for boot and recovery purposes.
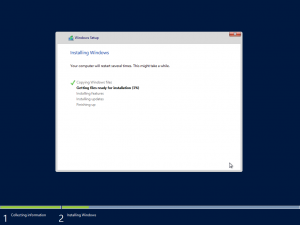
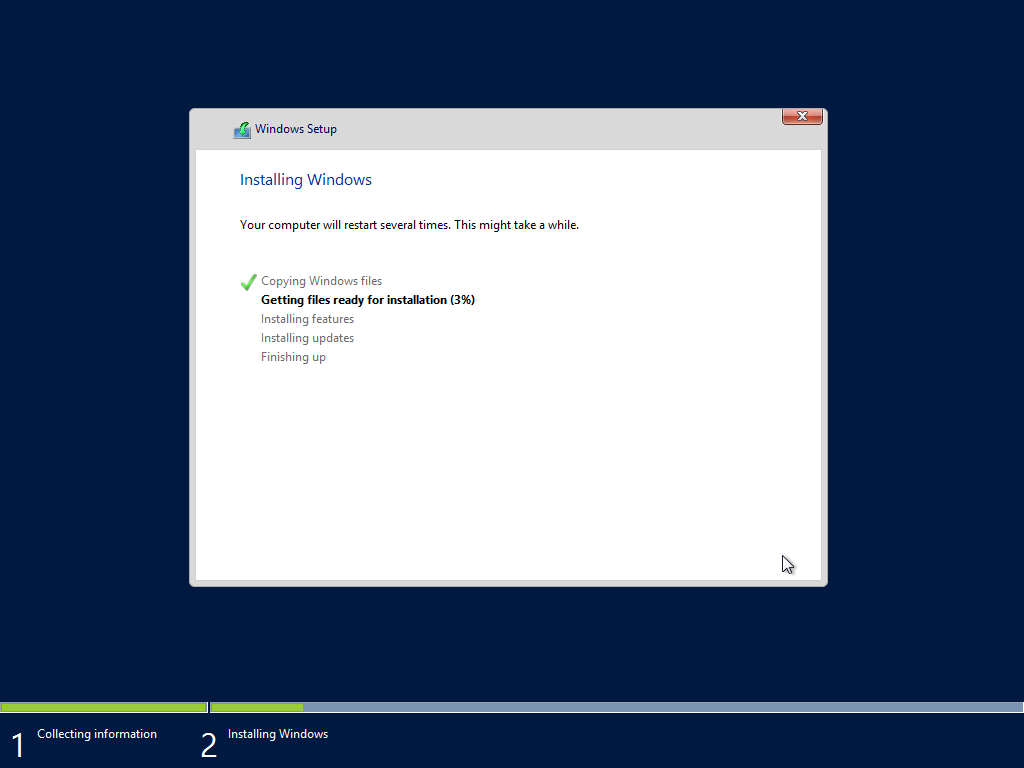
- Windows will now proceed through the copying stage, it will reboot during the hardware detection process at least twice.
- You will now need to enter the Local Administrator password for the computer. The password needs to be 8 characters and consist of 3 out of the following types of character – Number, lowercase letter, uppercase letter, special character
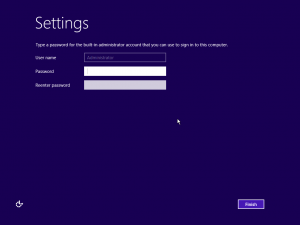
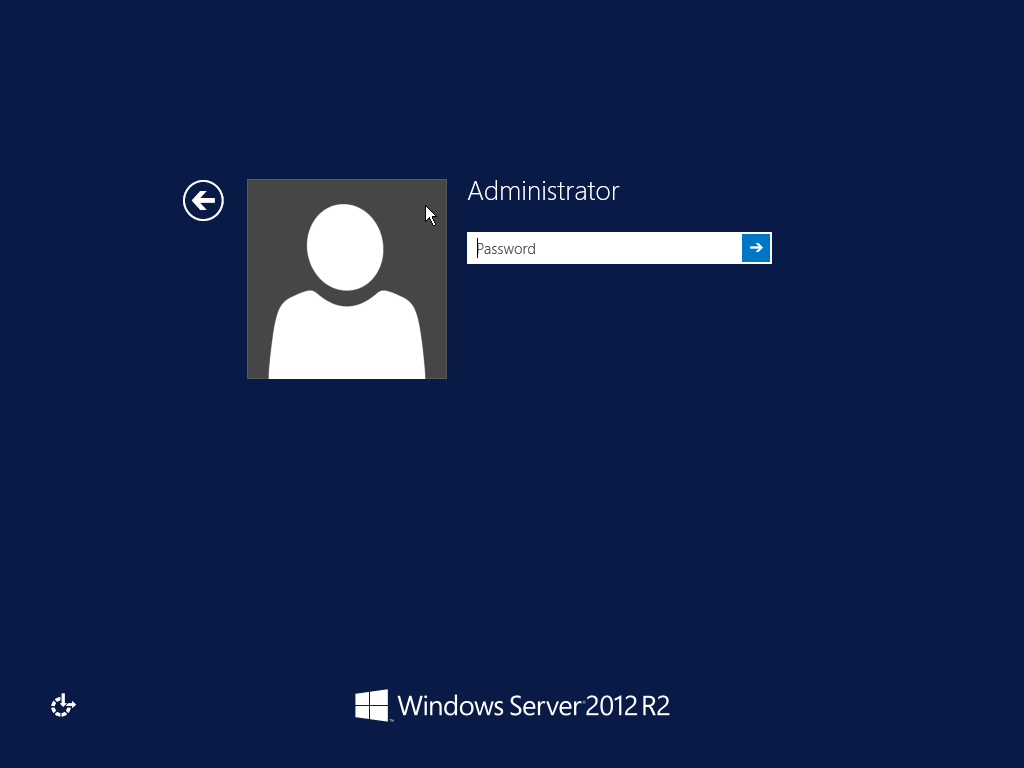
- Once you have set your Administrator Password, you are then required to logon
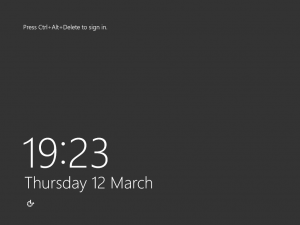
- Enter the password that you set, to login.
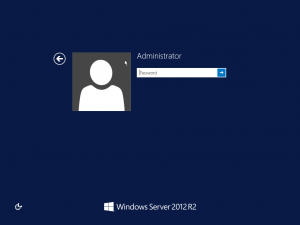
- Windows Server is now installed, you may be prompted to allow the network to detect other devices on the network. I would suggest that you choose the No Option to ensure that your Server remains secure from the outset.
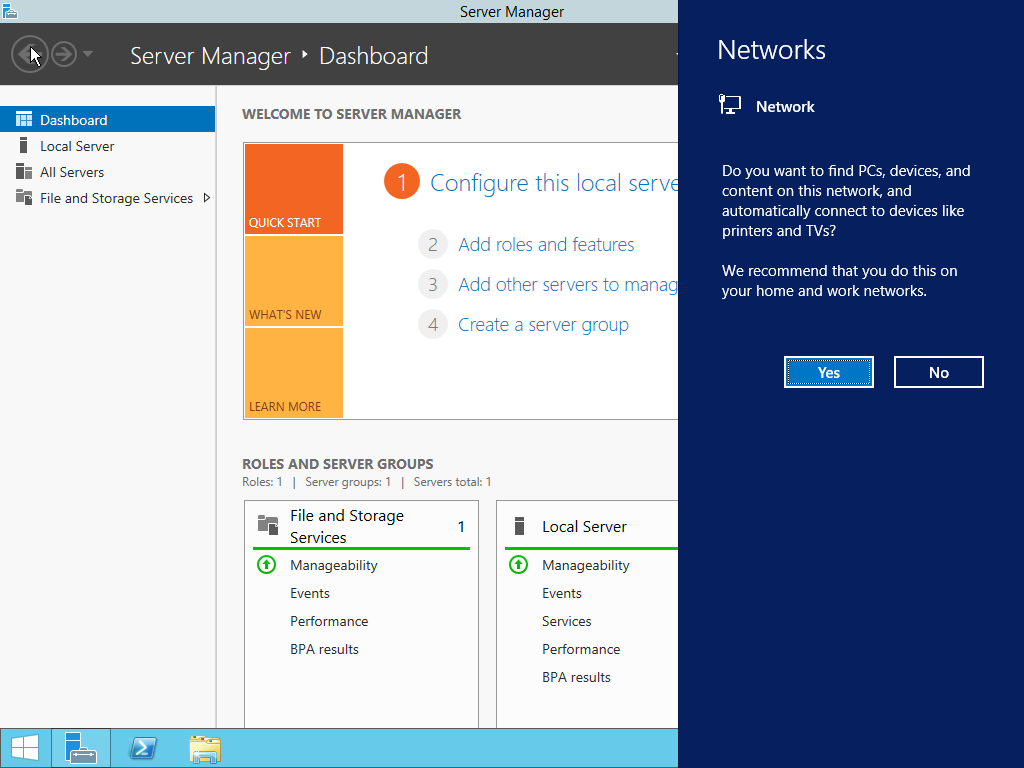
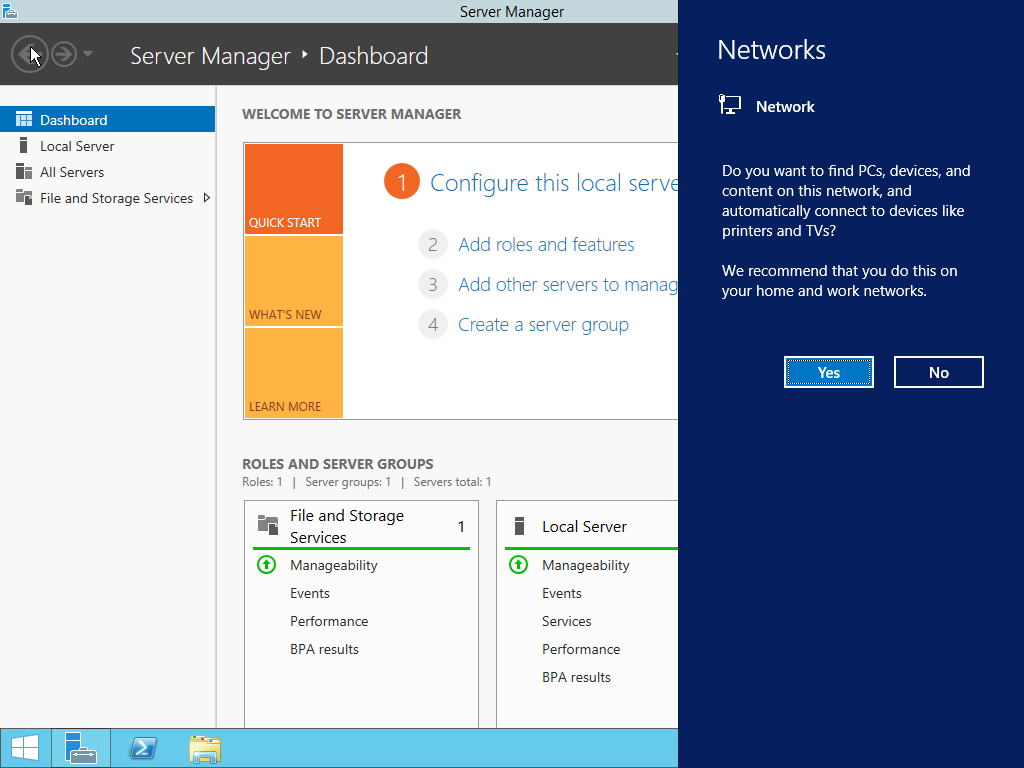
Windows Server Manager will be the first screen that you see. It is designed as a central focus point to the Server OS. From here you can configure the server so that it has a name that matches your network infrastructure. The Server Manager also has the ability to connect and remotely manage other Servers in the network, this is very useful if you choose to introduce Windows Server Core into your network.
Further Reading
Configure your Server 2012 R2 Server – Read this article to set the Server Name, IP Address and other standard settings.